- SignatureTransfer is no longer supported. Please use Allowance Transfers documented below.
- Standard ERC-20
approve()calls now work in mini apps. Approval will be automatically revoked after the transaction.
Permit2 Allowance Transfers (Recommended)
Allowance transfers are the recommended method for moving tokens in mini apps. World App automatically approves tokens to Permit2, so you can bundle the Permit2 approval and your contract call in a singlesendTransaction for a better UX.
Expiration should always be set to 0 as the approval will be consumed in the same transaction.
Standard ERC-20 approve() also works if you prefer.
World App automatically approves new ERC-20 tokens to the Permit2 contract.
Your contract only needs to call
permit2.transferFrom — the token-level
approval is already in place.Result
Confirming the User Operation
The command resolves as soon as the user operation is submitted, so the first identifier you receive isuserOpHash.
You can either use the @worldcoin/minikit-react hook or poll the Developer Portal
to check when the user operation is mined and get the final transaction_hash.
Error Codes
| Code | Meaning |
|---|---|
invalid_operation | The requested operation is not allowed |
user_rejected | The user rejected the request |
input_error | The payload is invalid |
simulation_failed | Simulation failed before execution |
transaction_failed | The transaction failed after submission |
generic_error | Unexpected failure |
disallowed_operation | The requested operation is disallowed |
validation_error | Validation failed before execution |
invalid_contract | The contract is not allowed for your app |
malicious_operation | The operation was flagged as malicious |
daily_tx_limit_reached | Daily transaction limit reached |
permitted_amount_exceeds_slippage | Permit2 amount exceeds allowed slippage |
permitted_amount_not_found | Permit2 amount could not be resolved |
Fallback Behavior
By default we intend for mini apps to be useable outside of World App. Fallbacks generally will not be needed for this command and you should instead follow the migration path outlined.Allowlisting Contracts and Tokens
Before your mini app can send transactions, you must allowlist the contracts and tokens it interacts with. Navigate to Developer Portal > Mini App > Permissions and add:- Permit2 Tokens — every ERC-20 token your app transfers via Permit2
- Contract Entrypoints — every contract your app calls directly
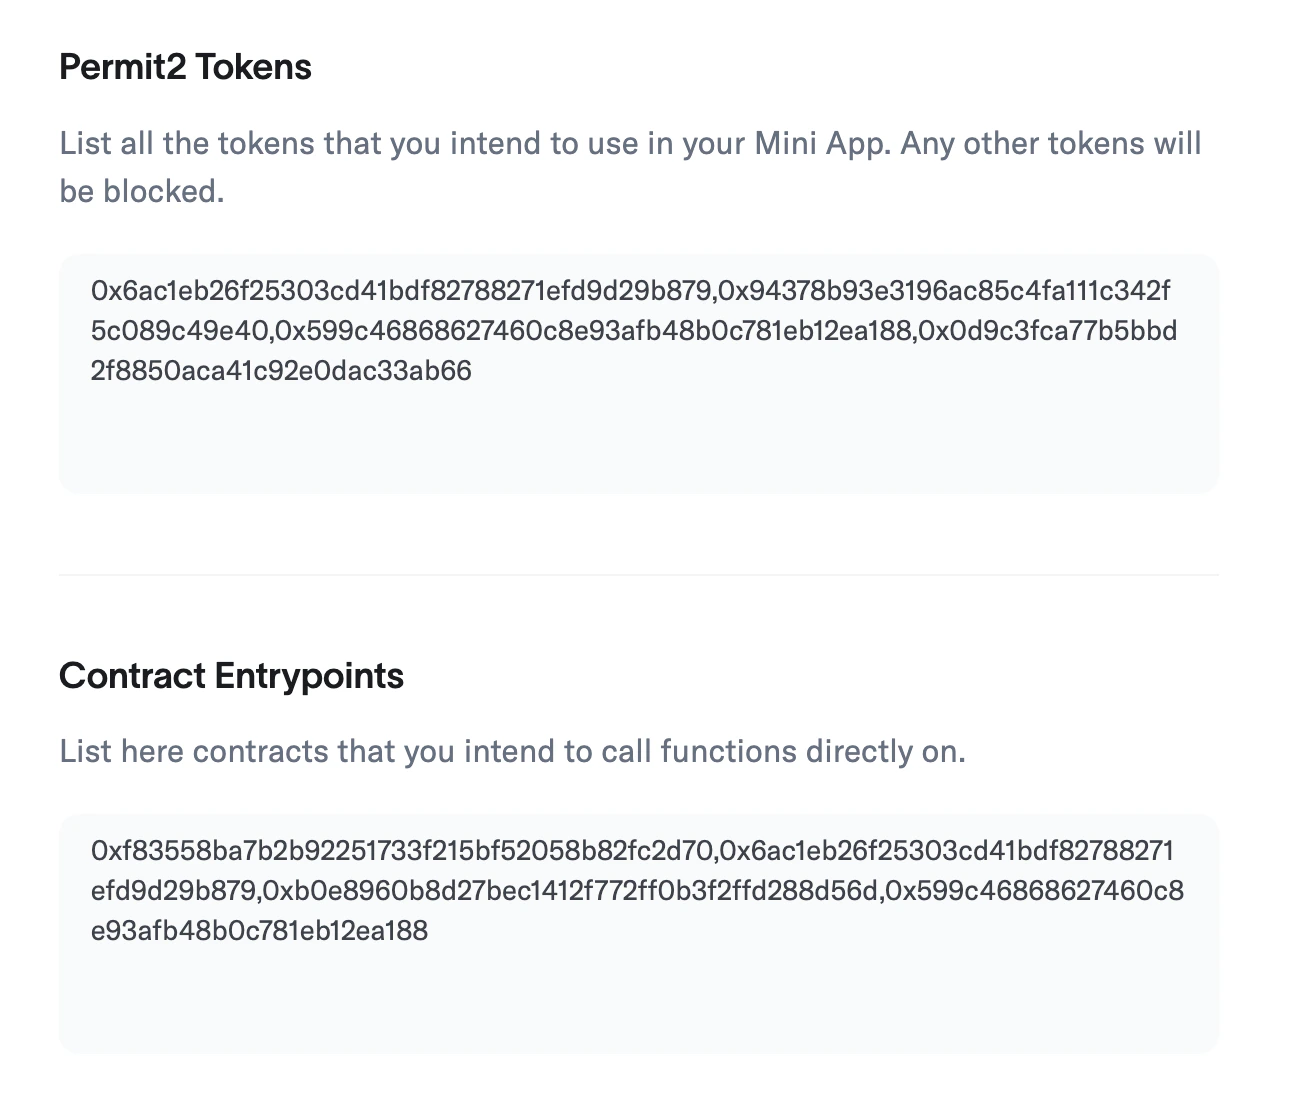
Developer Portal Whitelist